

Screen capturing can be fun and helpful. I'm not talking about still screenshots, but live in action. Imagine a friend of yours need a help on figuring out steps in a collaborative project. You can share your screen with him at that moment to show what needs to be done. But if you can produce a screencast, it is reusable and come in handy to many others having the same issue. "Fun and Helpful". Don't you think?
Capturing Your Screen
If you recall, once we discussed about sharing the screen among your friends using Screenleap. But it was about sharing a live session. Now here I wanna talk about recording your screen and publishing online, so you can share it with your friends online and reuse over and over again - producing a video output.
I'm sure you might have heard of popular tools and software applications that capable of recording screen. Some need to be pre-installed to make use of, or there could be limitations involved when it comes to usability, processing time and compatibility across devices. Even, it can take some time to upload your recorded video online. Sounds the whole process does take some time.
I had to come up with a demonstration on a short notice months ago. Had no screen capturing software installed in my computer, but I could produce a screencast and share with her within about 3 minutes. Glad I knew about Screenr that time :)
Screenr
Screenr is a web-based screen recorder, which allows you to record your screen and share online. The best thing about Screenr is, you don't have to install any piece of their application components in your computer. However Screenr depends upon Java, which you may have already integrated with your web browser.
With Screenr, you can capture any part of your screen by resizing and positioning the recorder frame. While recording, you can pause and continue at your convenience. Even if the screencast didn't go well or interrupted in the middle, you can start over instantly without initiating the recording frame again.
Once you capture your screen and voice with Screenr, you can review and publish it online. Unfortunately, you can't edit your screencasts though. Yet Screenr has some quite impressive features available. Here's the features you can enjoy,
● High-definition screencasts
● Short URL for each screencast
● Share screencasts on Facebook and Twitter
● Embed screencasts on your blogs / websites (Compatible with smart devices too)
● Publish screencast right to your YouTube channel
● Download screencasts (in MP4 video format)
● Keep track of published screencasts
Talking about limitations, Screenr free version allows only 5 minutes for each screencast. Eventhough you can't record your screen for hours, this tool can come in handy for quick and simple screencasts. Further, it's capable of recording up to 2560 x 1600 screen size, but 1920 x 1200 in Mac.
Here's an embedded Screenr screencast. Do you like the way it works?
Forget about the time to download, install, configure application and upload video back online to share with your friends. Just press the record button and start recording your screen.
Before You Go:
* As a prerequisite, you need to have Java installed. If you don't have Java on your computer, download and install Java.
Steps:
1 Go to Screenr website.
2. Click on sign in panel on top and sign in with one of your email or social profiles.

3. After the authorization, you will be directed to complete registration page. Enter required details and choose an username, and click Complete registration button.
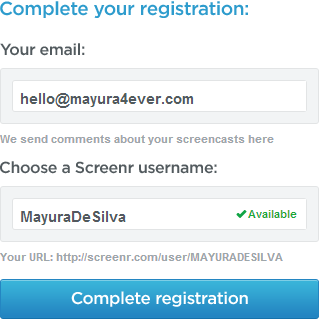
Note: Make sure to confirm your email address by clicking confirmation link in the Screenr confirmation email. Until then, you won't be able to enjoy all the features available.
4. Unless redirected automatically, go back to Screenr website and sign in to your Screenr account.
5. Click on Record button on the page or jump to Record page to start recording your screen.

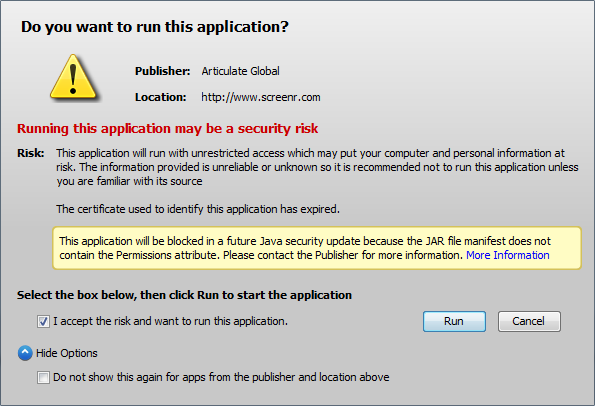
6. Screenr will scan for the Java support in your web browser and once it detects Java installed, you will get a prompt asking permission to run Screenr. Click Run button to start application.
Notes:
* If Screenr fails to detect Java, you might wanna add the Screenr website URL to the Exception Site List.
* Tick on Do not show this again... option to prevent showing the prompt each time you start using Screenr.
7. Now you will see a frame pops up on your screen along with a panel. You are almost ready to record your screencast.
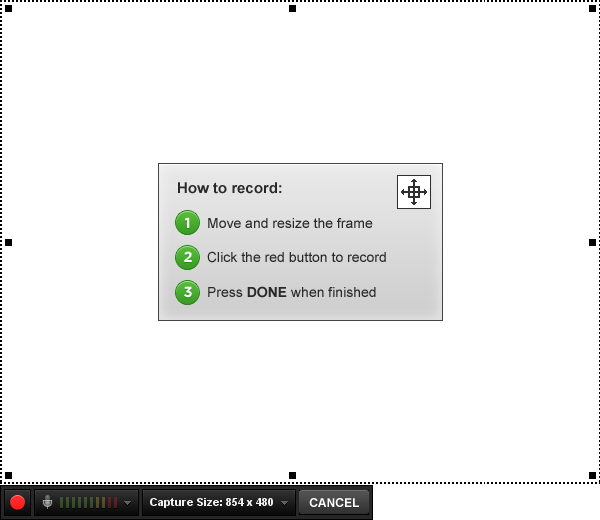
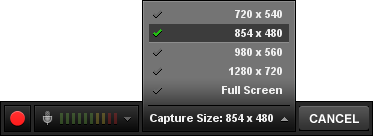
8. You can either position and resize the recording frame as you need, or select pre-defined capture sizes available from the panel as below.
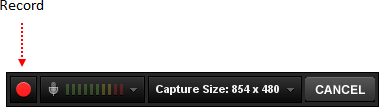
9. Once you are all set to record, hit the Record button to start.
10. You can pause your recording for a break or to set recording frame to a different position. If you wanna start over, delete the current recording.
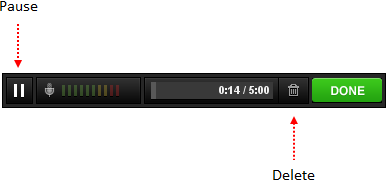
11. If you wanna finish recording, click Done button on the panel.

12. Once you done with your recording, you can preview your screencast and proceed to publish or delete if unsatisfied. Prior to publishing, you need to add a brief description about your screencast.

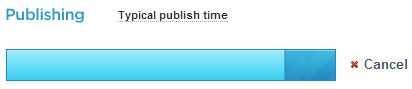
13. If you decided to publish, you may have to wait until it's being published.
14. Once it's got published, you can share the URL with your friends and followers, or embed it on your own blog or website too.

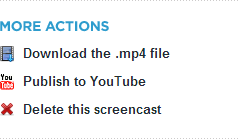
More Information:
* You can download the screencast to your device or publish it to YouTube channel too.
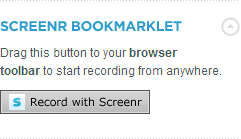
* Drag the Screenr bookmarklet to your browser bookmark bar, so you can start recording from anywhere without landing on the Screenr website. Now that's very convenient.
Enjoy :-)
