

The mobile platform is getting more and more popular everyday with latest technological advancements. Most of users now using mobile devices and it's almost mobile era. Don't we see smartphones, tablets everywhere now? Well, if you are managing a blog or website, have you ever thought of this factor? Absolutely, I know many of you has mobile version of your blog or website to be compatible with mobile devices, isn't it? If not, now it's time for you to think about it. Well, how about building your own app for your blog or website? So your readers can check out your content instantly via their mobile devices without entering your site URL always. Isn't it?
Learn Android Basics?
Ohw, I forgot to tell you. I've been talking about creating an Android app. I'm sure you have heard the word - Android. I'm gonna help you with creating your own Android app for your blog or website. First of all, you need to know the basics. Are you ready? Let's get started. If you have experience on Android development, this is much more easier for you. It will take few days to weeks though. WHAT?! You are giving me the fish eye now? Hmm... It seems you already gonna give up on this. But... Wait... Would you like to follow few simple steps and build your own Android app for your site with no prior knowledge on Android or whatever platform?
No Codings Needed
No... I'm not crazy in the head ;) Now it's possible to create an Android app without knowing any codings. AppsGeyser is known as a free web platform and it helps convert web content into Android app easily. You don't need any of developer experiences on Android platform and just need to provide where your blog or site located. Once you provided necessary details, AppsGeyser will build an app for you in few simple steps.
AppsGeyser offers quite interesting features you can make use with your app to be more friendly with app users. But it doesn't let you customize each and every detail though. Well, in that case you gotta hire a developer or learn to code yourself. AppsGeyser taking care of reflecting any public web content in an app as users see it via mobile devices. Here's how mine looks.
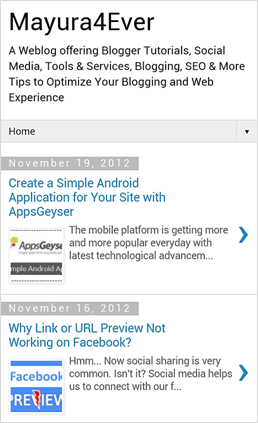
As I mentioned, it's yet simple and pretty basic, and not enriched with functionalities like Facebook or Twitter android apps. But if you just need your visitors to come, explore and interact with your content, then you will be much satisfied with its functionality. Further it will help you increase marketing effectiveness of your brand as the app spreads through mobile users. Isn't it wonderful enough to have you own Android app? Go for it and let me know how much you liking your own Android app. Let's build your Android app right now.
AppsGeyser offers quite interesting features you can make use with your app to be more friendly with app users. But it doesn't let you customize each and every detail though. Well, in that case you gotta hire a developer or learn to code yourself. AppsGeyser taking care of reflecting any public web content in an app as users see it via mobile devices. Here's how mine looks.
As I mentioned, it's yet simple and pretty basic, and not enriched with functionalities like Facebook or Twitter android apps. But if you just need your visitors to come, explore and interact with your content, then you will be much satisfied with its functionality. Further it will help you increase marketing effectiveness of your brand as the app spreads through mobile users. Isn't it wonderful enough to have you own Android app? Go for it and let me know how much you liking your own Android app. Let's build your Android app right now.
Steps:
1. Navigate to AppsGeyser Create App page.
2. Click on Website option.
3. Now you have to provide necessary information to build your simple app.
Website URL - Enter blog or website URL
App name - Enter preferred app name you would like it to have
Description - Enter brief description about your app
Icon - You can either select default icon or upload your own app icon (Jpeg or Png)
Screen Orientation - Here you can set the default orientation. But it's best to set as Auto, as orientation can be changed as user preference.
Category - Select the best describe category for your blog or website
4. Now click Create button.
5. You gotta provide your personal details now to manage your application after it's being created. Enter relevant information and click Sign Up button after agreeing with Terms of Service.
6. Now you will be directed to your dashboard. You can download your app, send link to your friends or let your readers download in on your site. Further, go ahead and publish it on Google Play if you would like to make it accessible to public.
More Information:
* You can edit more settings or delete your app from Edit tab on dashboard.
* You can easily check out statistics for your app at Statistics tab.
* If you wanna monetize with your app, jump to Monetize tab.
Enjoy :-)
