
Do you have a blog header on your blog? Does that question sounds funny? Yeah... sort of. I bet you have a header on your blog too. Generally almost all blogs have their own unique header to show off blog title, description or simply to convey the idea behind the blog.
In Blogger, you just don't worry about implementing header as it is included right when you create your blog. Basically your blog header will consist of your blog title specified when you create your blog. But it may not the way you wanna set up your blog header. So what if you wanna go beyond and customize your standard Blogger header?
In Blogger, you just don't worry about implementing header as it is included right when you create your blog. Basically your blog header will consist of your blog title specified when you create your blog. But it may not the way you wanna set up your blog header. So what if you wanna go beyond and customize your standard Blogger header?
Blogger doesn't restrict you from customizing header and it offers few prominent options to customize yours. By default, once after creating your blog, you will see only blog title on your header. If you are not prefer to keep it as it is, Blogger let you customize your header in these ways.
● Show blog title and description on header
● Show blog title with background header image
● Show blog title and description with background header image
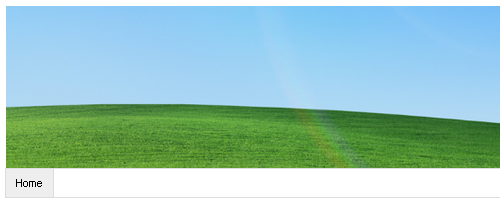
● Add an image as header
● Show header image with blog description
I got few more queries recently asking how to create headers or customize them. Yeah, it seems much easy for most users. But I see some novices couldn't figure it out at all and confused. So I'd like to contribute them via this post to style their blog header. So if you are wondering about customizing your Blogger header, here you will find how to customize your standard Blogger header with available options.
Before You Go:
* If you wanna add a custom header to your blog, read How to Add a Custom Header in Blogger.
* If you are looking for adding a header image for you blog using dynamic views, read How to Add a Header Image for Dynamic Views in Blogger.
Steps:
1. Go to Blogger Dashboard.
2. Click on your Blog Title.
3. Jump to Layout tab.

4. Now find the Header element just below Favicon element.

5. Click Edit link correspond to your header element.
6. Now you will see the configuration window of your header. Either you can display your blog title and description on header or specify a custom image which is suitable to use as your header. Or you can use mix of them. See what's best suite for you and follow relevant instructions.
Show Blog Title and Description
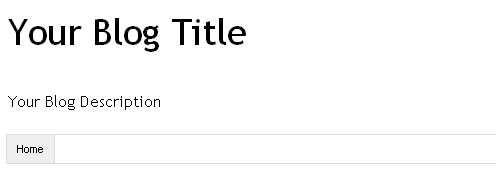
Just enter values for Blog Title and Blog Description fields.
Note: If you just wanna show only your blog title, leave Blog Description field as blank.
Show Blog Title and Description with Background Header Image
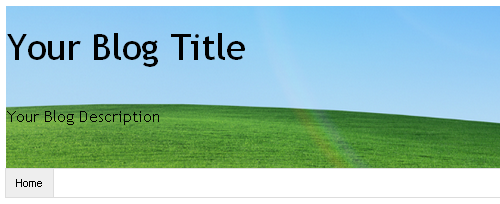
i. Make sure you have entered values for Blog Title and Blog Description fields.
Note: If you just wanna show only your blog title, leave Blog Description field as blank.
ii. Now upload your image from your computer or from web by specifying image URL in relevant field.
Note: If you believe your image is much wider than your blog width, you can select Shrink to fit option before upload or specify image URL, to shrink image and adjust automatically for header.
iii. Now select Behind title and description option under Placement.
Add an Image as Header
Note: If you believe your image is much wider than your blog width, you can select Shrink to fit option before upload or specify image URL, to shrink image and adjust automatically for header.
ii. Now select Instead of title and description option under Placement.
Add Header Image and Place Blog Description Beneath the Image
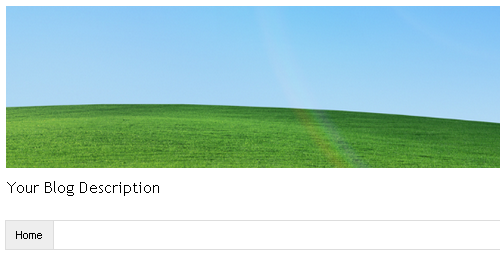
i. Upload your image from your computer or from web by specifying image URL in relevant field.
Note: If you believe your image is much wider than your blog width, you can select Shrink to fit option before upload or specify image URL, to shrink image and adjust automatically for header.
ii. Now select Have description placed after the image option under Placement.
7. Now save your header element.
8. Preview your blog and see how it goes.
Enjoy :-)


