Do you know what is Buffer? Buffer is a Social Media Management tool helping you to schedule your social updates online. You can set specific time slots in Buffer, so it will take care of your social updates and publish them on your social profiles when you want them to be published. Sounds interesting? If you are new to Buffer, you might wanna get started following this post - How to Schedule Your Social Media Updates with Buffer.
Buffer on Blogger
While Buffer helps you schedule your social updates, it made the integration easy for publishers too. As you are blogging on Blogger, you can have the Buffer buttons implemented on your blog posts in a giffy. Wouldn't you love that?
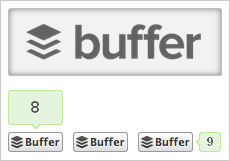
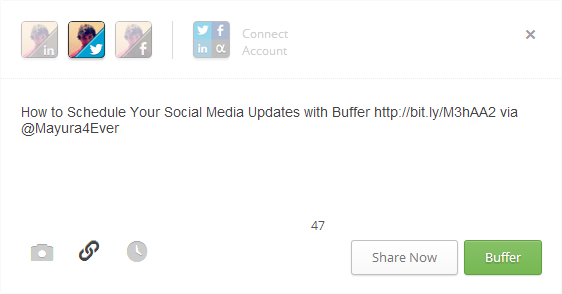
Buffer buttons are quite similar to Twitter button's look and feel. Plus, here you can take a look at the appearance of Buffer share box. Quite similar to Twitter share box too. Isn't it?

Yet Buffer share box is enriched with few extra features. You can attach an image along with the update, unshorten the link and set a custom time for your update to be published too. As you can connect multiple networks with Buffer, you can have the same update published on different networks at the same time. Well, all of them are possible within this share box. You don't even have to step into your Buffer dashboard. Now, that's really convenient!
Don't you think your visitors who use Buffer for scheduling their updates would love to find Buffer button on your blog posts? Then, they don't have to use their browser extension or switch to Buffer dashboard when sharing your blog posts onto their social networks. They can share your blog posts without leaving your blog at all.
If you are interested in having Buffer button on your blog, let me walk you through the steps you need to follow and at the end of the post you will have it working on your blog too. Let's get started!
Steps:
1. Go to your Blogger Dashboard.
2. Click on your Blog Title.
3. Jump to Template tab.

Note: Before editing your template, you may want to save a copy of it. Read How to Back Up Your Template.
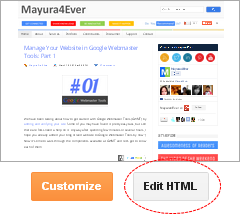
4. Click Edit HTML button below your blog preview.

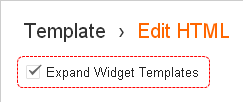
5. Tick on, Expand Widget Templates option.

6. Search for following tag within your template
<data:post.body/>
7. Now add your button code snippet after <data:post.body/> tag.
Note: Adding below <data:post.body/> will place your button under the post. If you need to place it elsewhere on post page, read How to Position Elements on a Blogger Post Page.
<b:if cond='data:blog.pageType == "item"'>
<a href='http://bufferapp.com/add' class='buffer-add-button' data-count='[Button Style]' data-via='[Twitter Username]' expr:data-text='data:post.title' expr:data-url='data:post.url'>Buffer</a>
<script type="text/javascript" src="https://d389zggrogs7qo.cloudfront.net/js/button.js" />
</b:if>
<a href='http://bufferapp.com/add' class='buffer-add-button' data-count='[Button Style]' data-via='[Twitter Username]' expr:data-text='data:post.title' expr:data-url='data:post.url'>Buffer</a>
<script type="text/javascript" src="https://d389zggrogs7qo.cloudfront.net/js/button.js" />
</b:if>
Color Indication Information:
- Buffer Button Style
Select your preferred Buffer button style from below and add Style Name here.
Vertical Style

Style Name: vertical
Horizontal Style

Style Name: horizontal
No Count Style

Style Name: none
- Twitter Username
Here you can add your Twitter name or preferred Twitter username to be mentioned in the post shared via Buffer. If you are not prefer to mention any Twitter username, leave it as a blank.
7. Now save your template and check your individual posts for buffer button.
Enjoy :-)
4 comments:
LOVE IT! Thanks!
You're welcome Brenda :) I have no idea that you were a fan of Buffer. Glad you implemented it on your blog now. Enjoy buffering posts... :)
Cheers...
I just started using it over the weekend. :)
Great :) I love it too. Really great tool to buffer tweets dear... Rock on Buffer ;)
Cheers...
Post a Comment